Easy Origami Crown: Paper Craft Steps
How to Make an Origami Crown with 6 Pieces of Paper is a fantastic project for anyone looking to add a touch of regal charm to their day! Imagine a stunning, multi-pointed crown, each of its six sections perfectly formed, ready to be worn or displayed. This isn’t just for royalty; it’s a wonderful project for complete beginners, kids, or anyone who enjoys a satisfying crafting session. In about 30-45 minutes, you’ll transform simple paper squares into an impressive 3D crown. We’ll guide you step-by-step through creating individual modules and then seamlessly joining them together. Get ready to discover the magic of modular origami as we build this beautiful crown piece by piece!
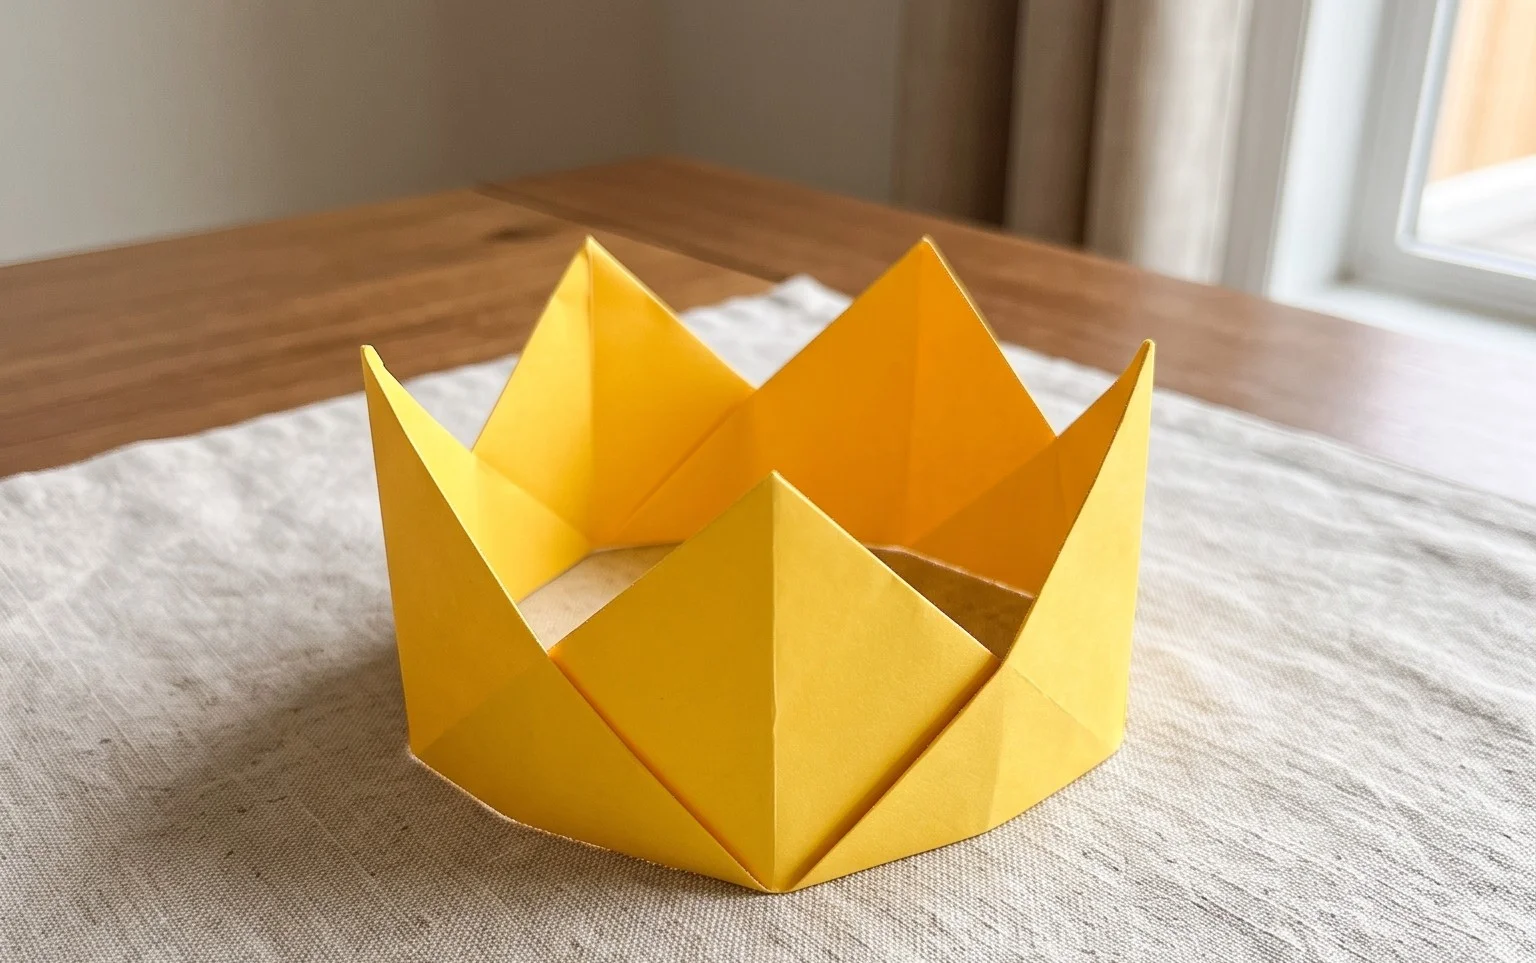
So, you want to create a regal origami crown, fit for a king, queen, or any majestic being in your life? And you want to do it with six pieces of paper? Fantastic choice! This is a wonderfully rewarding project, and by the end, you’ll have a beautiful, three-dimensional crown that looks far more complex than it actually is. I’m going to guide you through each step, assuming you’re new to origami, so don’t worry if you’ve never folded anything before. We’ll take our time and make sure every fold is perfect.
Choosing Your Paper: The Foundation of a Royal Crown
Let’s start with the most important material: the paper! The paper you choose will significantly impact the look and feel of your finished crown. For this project, we’ll be using six identical pieces of paper.
Type and Weight
I highly recommend using standard origami paper. It’s designed for folding, holding creases beautifully and being easy to work with. If you don’t have dedicated origami paper, plain printer paper (around 20-24 lb weight, or 75-90 gsm) will also work, though it might be a bit stiffer and the edges might not be as crisp. Avoid cardstock or very thick paper, as it will be difficult to fold accurately, especially when you start assembling the pieces.
Size
For a reasonably sized crown that’s manageable for beginners, I suggest using square sheets of paper that are 6 inches (15 cm) by 6 inches (15 cm). This size is standard for origami and will result in a crown that can sit comfortably on a desk or be worn by a smaller child (or a very patient adult for a quick photo!). If you want a larger crown, you can use 8-inch (20 cm) or even 10-inch (25 cm) squares, but be prepared for more paper to handle.
Single or Double-Sided
For this crown, you have a few options. If you use single-sided origami paper (one colored side, one white side), your crown will have a predominantly colored exterior with white on the inside of the “points.” This can look quite elegant. If you use double-sided origami paper (colored on both sides), your crown will be vibrantly colored throughout, with no white showing. This is often the most striking choice for a crown. You can also get creative and use patterned paper for a unique look! Just ensure all six pieces are the same size and type.
The Base Folds: Building Blocks of Elegance
Before we start making the crown itself, we need to understand a couple of fundamental origami folds. Practicing these on scrap paper will make the rest of the process much smoother.
The Valley Fold
This is the most basic fold. Imagine you’re folding a piece of paper in half to create a crease. You’re folding the paper *towards* you, creating an indented crease, like a valley. When you unfold it, the crease will look like a V-shape.
The Mountain Fold
This is the opposite of a valley fold. You’re folding the paper *away* from you, creating a raised crease, like a mountain. When you unfold it, the crease will look like an upside-down V.
Making Clean Folds
Clean folds are crucial for origami. Here’s how to achieve them:
* **Align Edges and Corners Precisely:** Before you make any crease, take the time to line up the corners and edges exactly. Even a slight misalignment will compound as you fold more.
* **Use Your Fingernail or a Bone Folder:** Once the edges are aligned, hold the paper firmly with one hand and use the fingernail of your other hand (or a dedicated bone folder if you have one) to firmly run along the edge you’re creasing. Start from the center of the fold and work outwards. This creates a sharp, defined crease.
* **Unfold Gently:** When you need to unfold a section, do so carefully, maintaining the integrity of other folds you’ve already made.
The Fold Sequence: Crafting Your Six-Piece Crown
Now, let’s get folding! We’ll make six identical pieces, and then assemble them.
Step 1: The Square Base (Per Piece)
Take one of your square pieces of paper. Place it in front of you with the colored side facing up (if using single-sided paper).
1. Fold the square in half by bringing the bottom edge up to meet the top edge. Crease firmly. You now have a rectangle.
2. Open the paper back up. You should see a horizontal crease in the middle.
3. Now, fold the rectangle in half by bringing the left edge over to meet the right edge. Crease firmly. You now have a smaller square.
4. Open the paper back up. You should see a vertical crease in the middle, intersecting the horizontal crease. You now have a square divided into four smaller squares.
Step 2: Creating the Kite Base (Per Piece)
Keep the paper oriented so the colored side is up, and the creases are visible.
1. Take the bottom edge of the square and fold it up so it meets the horizontal center crease. Crease firmly.
2. Take the top edge of the square and fold it down so it meets the horizontal center crease. Crease firmly. You should now have a rectangular shape, with the top and bottom edges meeting in the middle.
3. Now, imagine the vertical center crease. Take the right edge of this folded shape and fold it inwards so it aligns with the vertical center crease. Crease firmly.
4. Repeat step 3 with the left edge. Fold the left edge inwards so it aligns with the vertical center crease. Crease firmly. You should now have a long, narrow kite shape.
Step 3: Folding the Tip (Per Piece)
With your kite shape, the pointed end is at the top.
1. Take the top point of the kite and fold it downwards. The tip should reach down to where the two folded-in edges meet at the bottom of the kite. Crease firmly. This fold creates a small triangle at the top.
Step 4: Completing the Module (Per Piece)
This is where we prepare the piece to connect with others.
1. Flip the entire piece over to the other side.
2. Now, take the entire piece and fold it in half vertically, bringing the right edge over to meet the left edge. Crease firmly. You should now have a long, thin shape.
3. Look at the shape. You should see a flap on one side. This flap is what we’ll use to connect the pieces. Fold this flap upwards, away from you, about halfway along its length. You’re essentially creating a small tab that sticks out. Crease this fold firmly. This tab is what will slide into the pocket of another piece.
You have now completed one module of your origami crown! Repeat Steps 1-4 five more times with your remaining five pieces of paper. Take your time and focus on making each one as neat as the last.
Step 5: Assembly – Connecting the Modules
Now for the exciting part – bringing it all together!
1. Take two of your completed modules. Hold them side-by-side.
2. You’ll notice that on one edge of each module, there’s a small pocket created by the folds, and on the other edge, there’s a flap sticking out.
3. Take the flap of one module and gently slide it into the pocket of the other module. Push it in as far as it will go and ensure it sits snugly.
4. Once connected, you’ll have a longer, slightly bent strip.
5. Take a third module. Connect its flap into the pocket of one of the ends of your connected strip.
6. Continue connecting modules this way, one by one, until you have a long chain of six connected modules.
Step 6: Forming the Crown Shape
Now we have a long, flexible strip.
1. Gently bend the strip into a circular shape, forming the base of your crown.
2. Take the flap of the last module you connected and slide it into the pocket of the very first module you started with. This will close the circle and complete your crown. You might need to gently adjust the other connections to ensure everything is snug and even.
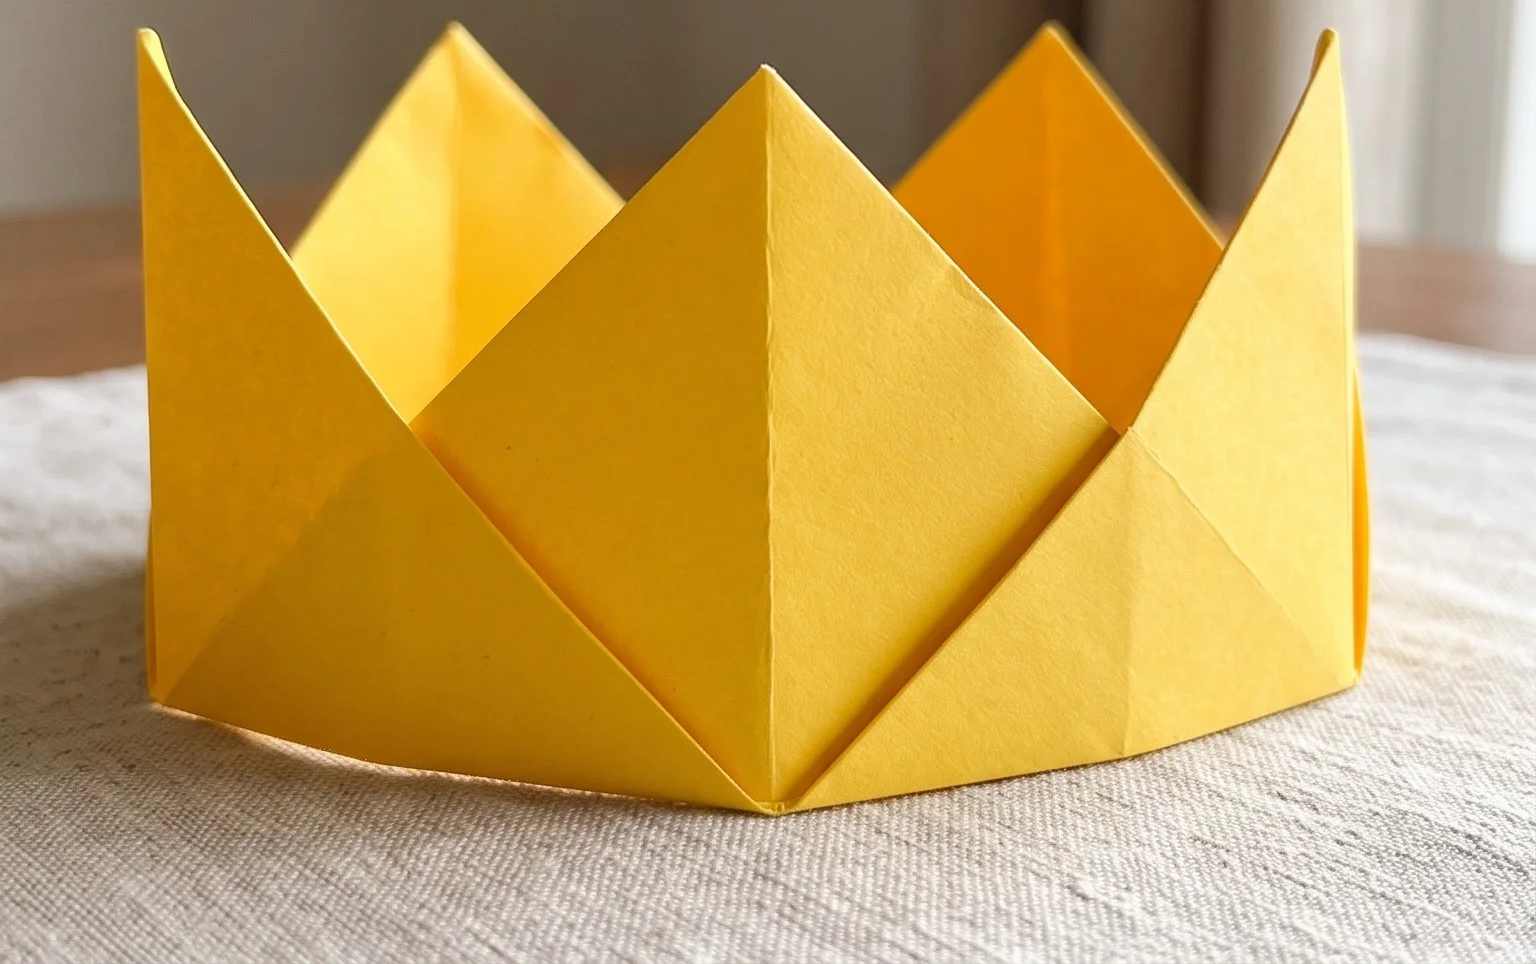
Congratulations! You’ve made an origami crown!
Common Beginner Pitfalls and How to Avoid Them
It’s completely normal to encounter a few snags when you’re starting out. Here are some common places beginners might go wrong, and how to steer clear of them:
1. Imprecise Folds Leading to Gaps or Misfits
This is the most frequent issue. If your initial folds aren’t perfectly aligned, or your creases aren’t sharp, the pieces won’t fit together neatly in the assembly stage.
* **How to Avoid:** Be meticulous with aligning edges and corners before each crease. Use your fingernail to make sharp, defined folds. Don’t rush the early stages of making each module. It’s better to take an extra minute on each fold than to have pieces that don’t connect properly later on.
2. Forcing the Connections
When you’re sliding the flaps into the pockets, if it feels like you’re forcing it, stop. This usually indicates that the previous folds on one or both modules weren’t quite right.
* **How to Avoid:** Gently guide the flap into the pocket. If it’s not sliding easily, check the module it’s going into. Is the pocket open enough? Was the flap on the other module folded correctly? Sometimes, you might need to slightly adjust the crease on the flap to make it thinner, or gently widen the pocket opening on the receiving piece.
3. Uneven Crown Shape (Not Circular or Wobbly)
Once assembled, your crown might not be a perfect circle, or it might lean to one side.
* **How to Avoid:** Ensure that all six modules are made as identically as possible. During assembly, pay attention to how the pieces connect. When you form the final circle, take a moment to gently adjust the connections. You can nudge the connected parts slightly to ensure the base of the crown sits evenly on a flat surface. Think of it like adjusting the legs of a table to make it stable.
Varying Your Crown: A Touch of Personal Flair
One of the best things about origami is its adaptability! You can easily customize your crown:
Size
As mentioned, simply use larger or smaller square paper to create a bigger or smaller crown. Remember, larger paper will require more force to crease, so if you’re going big, make sure your paper isn’t too thick.
Paper Pattern
Experiment with different patterned origami papers! Geometric patterns, floral designs, or even subtle textures can add a unique personality to your crown. Try using a pattern on the outside and a solid color on the inside for a more sophisticated look.
Color Combinations
You don’t have to stick to one color! You could use alternating colors for each module (e.g., red, blue, red, blue…) to create a striped effect. Or, use a bold color for the main crown and a contrasting color for the flaps that show on the inside. The possibilities are endless!
Displaying and Gifting Your Regal Creation
Your finished origami crown is a work of art! Here are some ideas for what to do with it:
Display Piece
Place your crown on a shelf, a mantelpiece, or a desk as a beautiful decorative item. It’s a conversation starter and a testament to your crafting skills.
Playtime Prop
This crown is perfect for imaginative play! It can adorn a favorite stuffed animal, be worn by a child for a royal tea party, or even be used as a prop for a school play.
Gift Idea
Origami gifts are incredibly thoughtful. This crown makes a lovely present for birthdays, holidays, or just to show someone they’re special. You could even present it with a small, rolled-up scroll that says “To our King/Queen” or a personalized message. It’s a charming and handmade token of affection.
Enjoy your beautiful, handmade origami crown! Keep practicing, and soon you’ll be creating all sorts of wonderful paper creations.
Conclusion
Congratulations on completing your regal origami crown! We hope you enjoyed this detailed tutorial. Don’t worry if your first attempt isn’t absolutely perfect – every fold is a step towards mastery, and practice truly makes perfect with origami. We’d love to see your finished crown, so feel free to share your creation!
Ready for more royal adventures? Try making your crown with patterned paper for a unique touch, or perhaps try a larger version by using bigger sheets. There are so many wonderful paper projects waiting to be discovered. Keep folding, keep creating, and let your imagination soar!