Easy Paper Punch-Out Lanterns: Kids Craft Tutorial
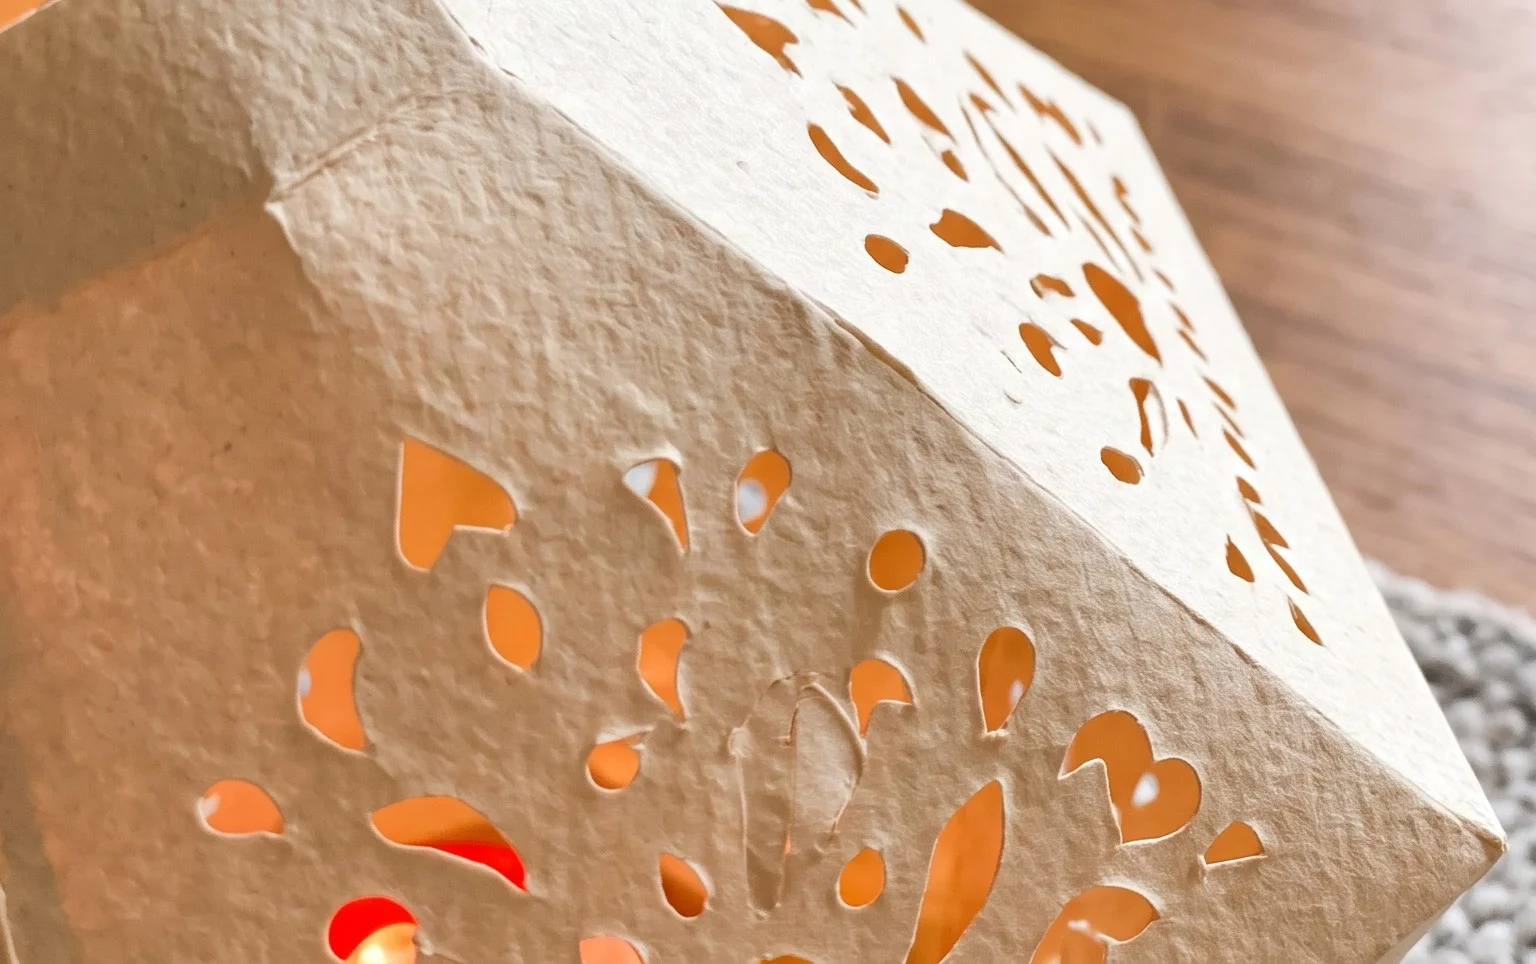
Paper Punch-Out Lanterns are such a delightful and simple craft, perfect for little hands to create! Imagine a beautiful, delicate paper lantern, glowing softly when a small LED light is placed inside. The sides are adorned with charming punched-out shapes, letting the light peek through in playful patterns. This project is absolutely ideal for complete beginners and especially for kids who love hands-on activities. In just about 15-20 minutes, you’ll have a wonderful creation ready to brighten any space or make a thoughtful handmade gift.
In this tutorial, we’ll walk through each easy step. You’ll learn how to transform a simple sheet of paper into a lovely lantern, discover how to safely punch out fun designs, and see how to assemble it all to create your very own glowing masterpiece. Get ready for some crafting fun!

Crafting Enchanting Paper Punch-Out Lanterns: A Fun Project for Little Hands
Hello there, crafty friends! Today, we’re embarking on a wonderfully simple yet incredibly rewarding origami adventure: creating charming paper punch-out lanterns. These lanterns are not only beautiful but also incredibly easy for children to make, bringing a touch of handmade magic to any space. Forget complicated folds; we’re focusing on straightforward steps that guarantee success and a whole lot of fun. Let’s gather our supplies and get ready to light up our creativity!
Choosing the Perfect Paper for Your Lanterns
The paper you choose is crucial for both the ease of folding and the final aesthetic of your lanterns. For these punch-out lanterns, I highly recommend using standard copier or printer paper.
- Type: Plain copier or printer paper is ideal. It’s readily available, comes in a vast array of colours, and is easy for little hands to fold and crease without tearing.
- Weight: Aim for paper that’s around 70-80 gsm (grams per square meter). This is the typical weight of most printer paper. It’s sturdy enough to hold its shape once folded but not so thick that it becomes difficult to manage. Avoid cardstock, as it will be too stiff for the folds and won’t punch out easily.
- Size: Standard A4 or US Letter (8.5 x 11 inches) paper works perfectly. These are convenient sizes that yield lanterns of a good, manageable size for display.
- Single or Double-Sided: For these lanterns, single-sided coloured paper is fantastic. This means you’ll have a vibrant colour on one side and white on the other. As we fold, the white interior will be hidden, leaving a beautifully coloured lantern. However, if you have double-sided coloured paper, that works wonderfully too, creating an even more vibrant lantern from the inside and out! Just be mindful of which side you want to be the visible exterior of your lantern.
The Foundation: Mastering the Base Folds
Before we dive into the punch-out technique, let’s ensure we’re comfortable with a couple of fundamental folds. Practicing these first will make the rest of the process so much smoother.
The most important fold we’ll use is a simple lengthwise fold.
The Lengthwise Fold
This is the cornerstone of our lantern. You’ll want to make this fold as crisp and precise as possible, as it will dictate the symmetry of your final lantern.
To make a clean lengthwise fold, start with your rectangular piece of paper. Orient it so the longer edges are running horizontally in front of you. Bring the top long edge down to meet the bottom long edge. Align these edges as perfectly as you can. Once they are perfectly aligned, run your finger or a bone folder firmly along the folded edge, starting from the center and moving outwards towards each corner. This creates a sharp crease. Open the paper back up; you should have a perfectly centered crease running vertically down the middle of your paper.
This single, precise fold is all you need to create the base structure for your lantern. The key here is precision – if your initial fold isn’t straight, your lantern might lean or look a bit lopsided. Take your time, align the edges carefully, and make that crease a good one!
Your Step-by-Step Guide to Making a Paper Punch-Out Lantern
Now, let’s get folding and punching! Remember, patience is key, especially if this is your first time. We’re aiming for fun and a beautiful result.
1. Start with your rectangular piece of paper. Place it on a flat surface with the longer edges running horizontally in front of you.
2. Fold the paper in half lengthwise. Bring the top long edge down to meet the bottom long edge. Align the corners and edges carefully.
3. Crease the fold firmly. You can use your fingernail or a ruler for a sharp crease. This crease should run vertically down the center of your paper.
4. Unfold the paper. You should now have a single crease running down the middle.
5. Now, we’re going to make cuts. Lay your paper flat again, with the crease running vertically. Imagine the paper is divided into two halves by this crease. We will be making parallel cuts within one half of the paper.
6. Starting from the folded edge (the crease), make your first cut. This cut should be about 1 cm (or half an inch) away from the *open* edge of the paper. Cut straight down, parallel to the crease, towards the top edge. Stop your cut about 1 cm (or half an inch) away from the top edge. Do NOT cut all the way to the top edge.
7. Make your next cut about 1 cm (or half an inch) away from the first cut you just made. Again, cut straight down, parallel to the crease, and stop about 1 cm (or half an inch) from the top edge.
8. Continue making these parallel cuts, spacing them about 1 cm (or half an inch) apart. Work your way across the paper, always cutting from the folded edge towards the top edge, and always leaving about 1 cm (or half an inch) uncut at the top.
9. Once you have made all your cuts, you will have a series of “strips” that are still attached at the top by that uncut border.
10. Now, gently unfold the paper completely. You should see a pattern of parallel slits running from near the bottom edge up towards the top edge.
11. Carefully bring the two short ends of the paper together. You’ll be forming a cylinder. The two uncut short edges will meet.
12. Secure these two edges together. You can use a strip of tape, a few dots of glue, or even a stapler. Ensure it’s secure so your lantern holds its shape. The cuts you made will now create the ‘punch-out’ effect of the lantern, allowing it to expand slightly.
13. Gently push the sides of the lantern inwards where you made the cuts. This will cause the strips to fan outwards, creating the classic lantern shape. The top edge will remain a solid band, and the bottom will have the fanned-out strips.
Common Pitfalls and How to Conquer Them
Even with simple steps, sometimes things don’t go as planned. Here are a few common hiccups beginners encounter and how to easily avoid them:
- Uneven Cuts: If your cuts are not parallel or are unevenly spaced, the lantern might look a bit wobbly, and the ‘punch-out’ effect won’t be as uniform.
- Solution: Take your time with each cut. Use a ruler to help guide your scissors or craft knife if needed. Try to make your cuts the same length and spacing. When you’re cutting from the folded edge, visualize the parallel lines you’re creating.
- Cutting Too Far: This is a very common mistake! If you cut all the way to the top edge, your lantern won’t have that solid band at the top to hold everything together, and it will likely fall apart.
- Solution: Always, always leave that border of about 1 cm (or half an inch) uncut at the top. This is essential for the lantern’s structure. If you accidentally cut too far on one or two strips, you might be able to salvage it with a bit of tape or glue to reinforce the top edge, but it’s best to aim for that uncut border from the start.
- Securing the Seam Weakly: If the seam where the two short edges meet isn’t secured well, your lantern could pop open.
- Solution: Use enough tape, glue, or staples to create a strong bond. If using glue, let it dry completely before trying to shape the lantern. For tape, make sure it adheres well to both surfaces.
Unleash Your Creativity: Variations to Explore
Once you’ve mastered the basic paper punch-out lantern, the possibilities for customization are endless!
- Size Matters: Experiment with different paper sizes! Use smaller scraps for mini lanterns or larger sheets for more substantial ones. If you use larger paper, you might need to adjust your cut lengths and spacing slightly.
- Pattern Play: Don’t limit yourself to solid colours!
- Patterned Paper: Use scrapbook paper with fun designs, polka dots, stripes, or even festive holiday patterns. These will add a whole new dimension to your lanterns.
- Stamping and Drawing: Before you fold and cut, let kids decorate plain paper with stamps, crayons, markers, or even watercolour paints. They can create their own unique patterns!
- Double-Sided Wonder: As mentioned earlier, double-sided coloured paper creates beautiful lanterns where both the inside and outside have vibrant colour.
- Colour Combinations: Mix and match colours! You could even make two lanterns and attach them top-to-top to create a double-sided, two-toned lantern.
Ideas for Displaying and Gifting Your Handmade Treasures
These charming lanterns aren’t just fun to make; they’re also wonderful for decorating and gifting.
- Festive Decorations: Hang them from ceilings, chandeliers, or curtain rods for a whimsical touch. They are perfect for parties, holidays, or just to brighten up a room. String several together for a festive garland.
- Table Centerpieces: Place a few on a table for a pop of colour and charm. You can place them on a decorative tray or scatter them amongst other decorations.
- Night Lights: With adult supervision, you can place a battery-operated LED tea light inside (never use a real candle!). This transforms them into soft, glowing night lights, perfect for a child’s bedroom or a cozy reading nook.
- Gifts with Heart: These lanterns make incredibly thoughtful handmade gifts. Package them beautifully in a box or a cellophane bag tied with a ribbon. They’re perfect for birthdays, holidays, or as a “thinking of you” surprise. Kids will be so proud to give something they’ve made themselves.
I hope you have a fantastic time creating these paper punch-out lanterns. They’re a testament to how simple materials and a little bit of folding can result in something truly magical. Happy crafting!
Conclusion
You’ve now learned how to create your very own beautiful paper punch-out lanterns! We hope you had a wonderful time crafting. Don’t worry if your first lantern isn’t perfect; every folding journey starts with a first attempt, and practice makes perfect. We encourage you to keep folding and to share your finished creations with friends and family – they make fantastic decorations or thoughtful gifts!
Ready for More?
For your next adventure, try adding a string of battery-operated fairy lights inside for a magical glow, or experiment with different colored paper for a vibrant display. There are so many wonderful possibilities with paper!
We hope you enjoyed this tutorial and are inspired to explore even more exciting paper projects with us soon!
