Easy Origami Bear: Step-by-Step Paper Craft Guide
Origami Bear: Step-by-Step Instructions await you! Get ready to fold your way to a charming little origami bear, complete with a sweet face and perky ears. This delightful model is perfect for absolute beginners, young crafters, or anyone looking to create a cute decoration or a thoughtful handmade gift. In about 10-15 minutes, you’ll transform a simple square of paper into this adorable companion. Throughout this tutorial, I’ll guide you through each fold with clear, easy-to-follow steps, showing you how to bring your paper bear to life. Let’s get our hands busy and create something wonderful together!
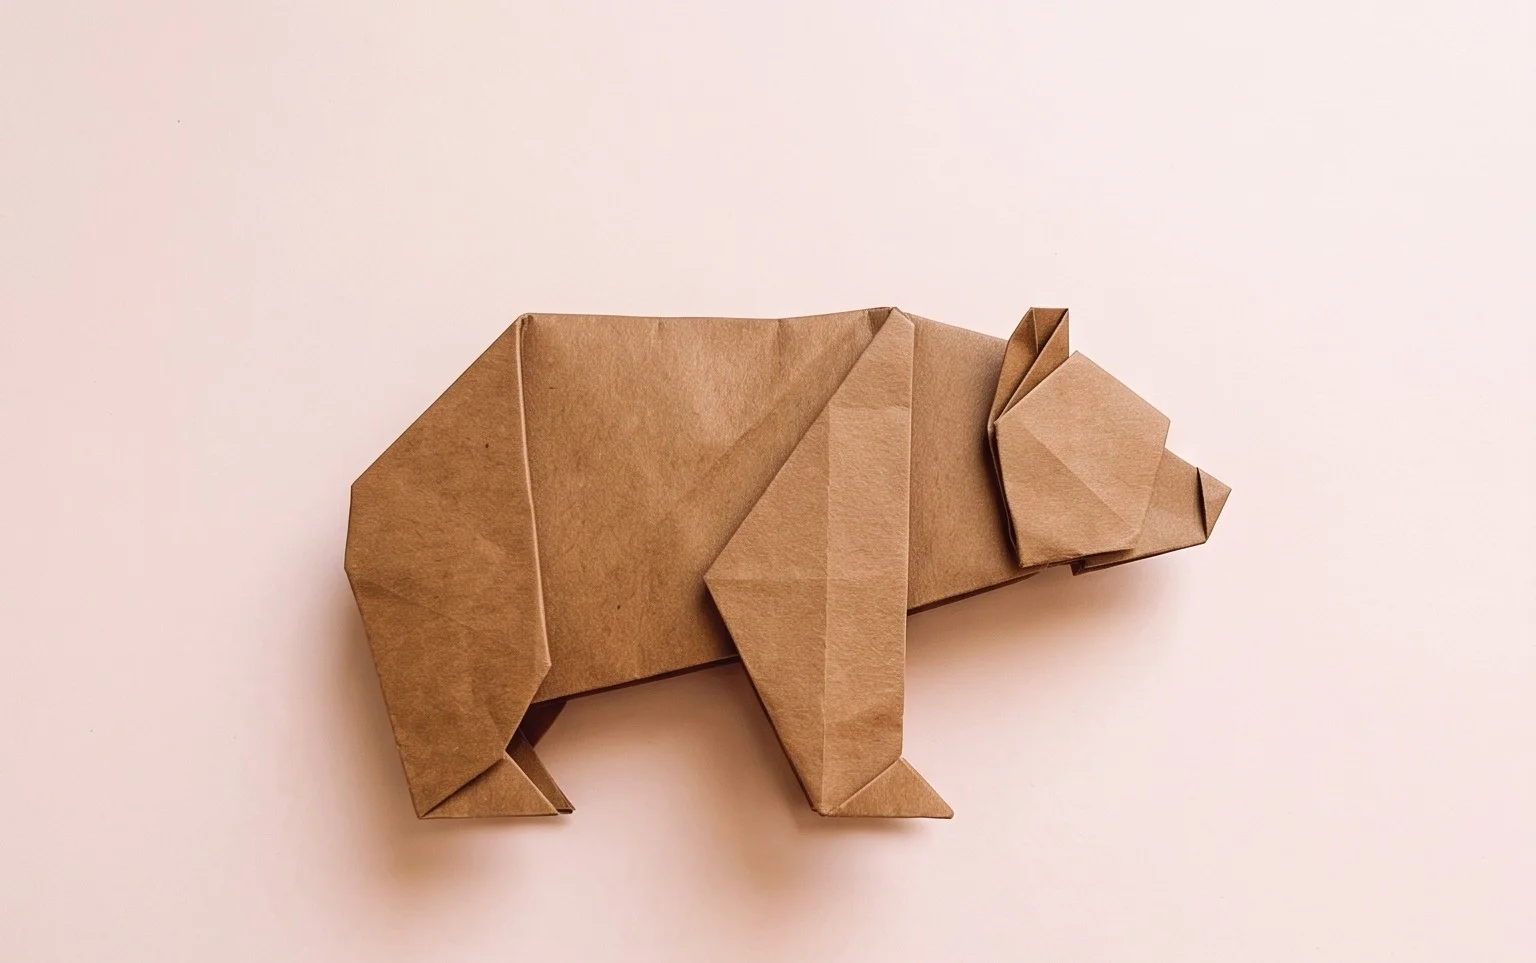
This guide will walk you through creating a charming origami bear. Origami, the Japanese art of paper folding, is a wonderful way to create beautiful objects with just a single sheet of paper. Don’t worry if you’re new to origami; we’ll take it step-by-step, and I’ll explain everything clearly. With a little patience and practice, you’ll have your own adorable bear in no time!
Choosing Your Paper
The right paper can make all the difference in origami. For this bear model, you’ll want to choose a paper that’s easy to fold and holds creases well.
Paper Type and Weight
The most common and recommended paper for origami is called “kami.” This is a thin, lightweight paper specifically designed for folding. It’s usually colored on one side and white on the other. Kami paper is readily available at craft stores or online. You can also use printer paper in a pinch, but it’s a bit thicker and can make some folds harder to achieve precisely. For this bear, a good weight to aim for is around 60-80 gsm (grams per square meter). If you’re using thicker paper, you might find it a bit more challenging, but it’s still doable.
Paper Size
A standard origami paper size is 15cm x 15cm (or about 6 inches x 6 inches). This is a great size for beginners as it’s manageable and gives you enough space to work with. If you want to make a larger bear, you can use bigger paper, and for a tiny one, you can use smaller paper. Just remember that as the paper size increases or decreases, the precision of your folds becomes even more important.
Single or Double-Sided Paper
For this origami bear, I highly recommend using paper that is colored on one side and white on the other. This allows the white side to become the inner part of the bear’s face and paws, giving it a nice contrasting detail. If you only have double-sided colored paper, that will work too; it will just mean the inside of your bear will be the same color as the outside.
Understanding the Base Folds
Before we begin folding our bear, let’s get familiar with a couple of fundamental origami folds. Practicing these will make the subsequent steps much easier.
The Valley Fold
A valley fold is the most basic fold. Imagine folding a piece of paper in half. The crease you make will form a “valley.” To make a clean valley fold, align the edges or corners precisely, hold them together firmly, and then run your fingernail along the crease from the center outwards. This ensures a sharp, defined fold.
The Mountain Fold
A mountain fold is the opposite of a valley fold. Instead of the crease going inwards, it goes outwards, like the peak of a mountain. Often, you’ll make a valley fold first and then unfold it, and then fold it the other way, creating a mountain fold on top of the existing crease line. Again, precision in alignment and a firm crease are key for clean mountain folds.
Origami Bear: Step-by-Step Instructions
Now, let’s start folding our bear! Make sure you have your paper with the colored side facing down and the white side facing up.
1. Begin with your square piece of paper, white side up.
2. Fold the paper in half horizontally, bringing the bottom edge up to meet the top edge. Crease well and then unfold. You should now have a horizontal crease line in the middle.
3. Fold the paper in half vertically, bringing the left edge to meet the right edge. Crease well and then unfold. You should now have a vertical crease line in the middle.
4. Now, turn the paper over so the colored side is facing up.
5. Bring the bottom point of the paper up to meet the top point. This is a diagonal fold. Crease well and then unfold. You should have a diagonal crease from the bottom to the top.
6. Bring the left point of the paper over to meet the right point. This is another diagonal fold. Crease well and then unfold. You should have a diagonal crease from the left to the right. You now have creases that divide the paper into four quadrants.
7. Bring the bottom edge of the paper up to meet the horizontal center crease. Crease well.
8. Bring the top edge of the paper down to meet the horizontal center crease. Crease well. Your paper now looks like a rectangle with two flaps on top and two on the bottom.
9. Now, we’re going to make the bird base. Pick up the model. Using the existing creases, push the left and right sides inwards towards the center. As you do this, the top section will naturally fold down. Flatten the model. You should have a square shape with four flaps. This is the “square base.”
10. Take the top layer of the right flap and fold its bottom edge to meet the center vertical crease. Crease well.
11. Repeat step 10 with the top layer of the left flap, folding its bottom edge to meet the center vertical crease. Crease well. Your model should now have a kite-like shape on the top.
12. Fold the small triangular tip at the top of this kite shape downwards. The point of the triangle should align with where the two folded edges meet at the bottom of the kite. Crease well.
13. Now, unfold steps 10, 11, and 12. You should see the creases you just made.
14. Lift the bottom point of the top layer of paper upwards, opening it up. Use the creases you just made to fold the sides inwards. This is called a “petal fold.” As you bring the point up, the sides will naturally fold in along those creases, and you’ll flatten it down into a diamond shape.
15. Turn the model over and repeat steps 10 through 14 on the other side. You have now completed the “bird base.”
16. You should have two “legs” sticking out at the bottom. Take the right “leg” and fold it upwards and slightly to the right. You want this fold to create the bear’s leg. The angle isn’t super precise, but aim for it to be roughly parallel to the side edge of the model. Crease well.
17. Repeat step 16 with the left “leg,” folding it upwards and slightly to the left. Crease well. These are the bear’s hind legs.
18. Now, look at the two points sticking out at the top of the model. These will become the bear’s ears. Fold the right top point downwards and slightly to the left. This fold will be on the “front” side of your model. Crease well.
19. Repeat step 18 with the left top point, folding it downwards and slightly to the right. Crease well. These are the bear’s ears.
20. To form the bear’s head, we’ll do an inside reverse fold. Look at the point where the two ears meet. You want to tuck this point inwards. Gently open the top layers of the paper and push the point inwards and downwards between the layers, then re-flatten the paper. This will create the bear’s snout. Crease well.
21. For the bear’s nose, take the very tip of the snout you just created and make a small inside reverse fold upwards. This will give a little bump for the nose. Crease well.
22. To give the bear a more rounded shape, you can gently curve the body and legs. You can also make very small folds on the tips of the legs to create paws, if you like.
Congratulations, you’ve made an origami bear!
Common Beginner Mistakes and How to Avoid Them
It’s completely normal to make a few mistakes when you’re starting out. Here are a couple of places beginners often get tripped up, and how to prevent them:
Messy Creases
One of the most common issues is not creasing firmly enough. This leads to a floppy, shapeless model.
* **How to avoid it:** Always take your time when creasing. Align your edges and corners as perfectly as you can, and then use your fingernail or a bone folder to make a sharp, crisp crease. Run your finger along the fold line multiple times, from the center outwards.
Misaligned Folds
When folds aren’t aligned correctly, the final model can look lopsided or not quite right.
* **How to avoid it:** Before you make a crease, double-check that the edges or corners you are bringing together are perfectly aligned. Don’t rush this step. If a fold is slightly off, it’s often better to unfold it and try again.
Difficulty with the Petal Fold (Step 14)
The petal fold can be a bit tricky the first few times you do it. It involves using pre-existing creases to collapse the paper in a specific way.
* **How to avoid it:** Take your time and look closely at the creases you’ve made. Gently open up the paper, and guide the sides inwards along those creases. Imagine you’re pushing the sides towards the center while simultaneously bringing the bottom point up. It’s like coaxing the paper into place rather than forcing it. Watching a video of this specific fold might also be helpful if you’re still struggling.
Varying Your Origami Bear
Once you’ve mastered the basic bear, you can have a lot of fun experimenting with variations!
Size
As mentioned, changing the size of your paper is the easiest way to change the size of your bear. Use a larger square for a bigger bear, or a smaller square for a miniature one. Be aware that with smaller paper, your folds need to be even more precise.
Paper Pattern
Using patterned paper is a fantastic way to give your bear unique character. You can find papers with all sorts of designs – flowers, animals, geometric patterns, or even solid colors with interesting textures. A patterned paper can make your bear look like it’s wearing a little outfit!
Color
Don’t be afraid to use different colored papers. While brown is traditional for a bear, a red bear can be festive, a blue bear can be whimsical, and a green bear can be quite striking. If you’re using single-sided paper, think about how the white interior will contrast with your chosen color.
Displaying or Gifting Your Origami Bear
Your finished origami bear is a lovely creation that can be displayed or given as a special gift.
Display Ideas
* **On a Shelf:** A single origami bear, or a collection of them in different sizes and colors, looks wonderful arranged on a bookshelf, mantelpiece, or desk.
* **As Part of a Scene:** You can group your bears with other origami creations or small toys to create a miniature landscape or a woodland scene.
* **In a Shadow Box:** Frame your bear in a shadow box for a more formal display.
* **As a Bookmark:** A slightly larger, well-creased bear can even function as a unique bookmark.
Gifting Ideas
* **A Standalone Gift:** An origami bear makes a thoughtful and handmade gift for friends, family, or colleagues. It’s a personal touch that shows you care.
* **In a Card:** Tuck a small origami bear inside a birthday card or thank-you note for a delightful surprise.
* **As a Party Favor:** If you’re hosting a party, especially for children, origami bears can make wonderful and memorable party favors.
* **Part of a Larger Gift:** Attach a small origami bear to a gift box or a bouquet of flowers for an extra decorative element.
Enjoy the process of creating your origami bear, and have fun with your new paper-folding skill!
Conclusion
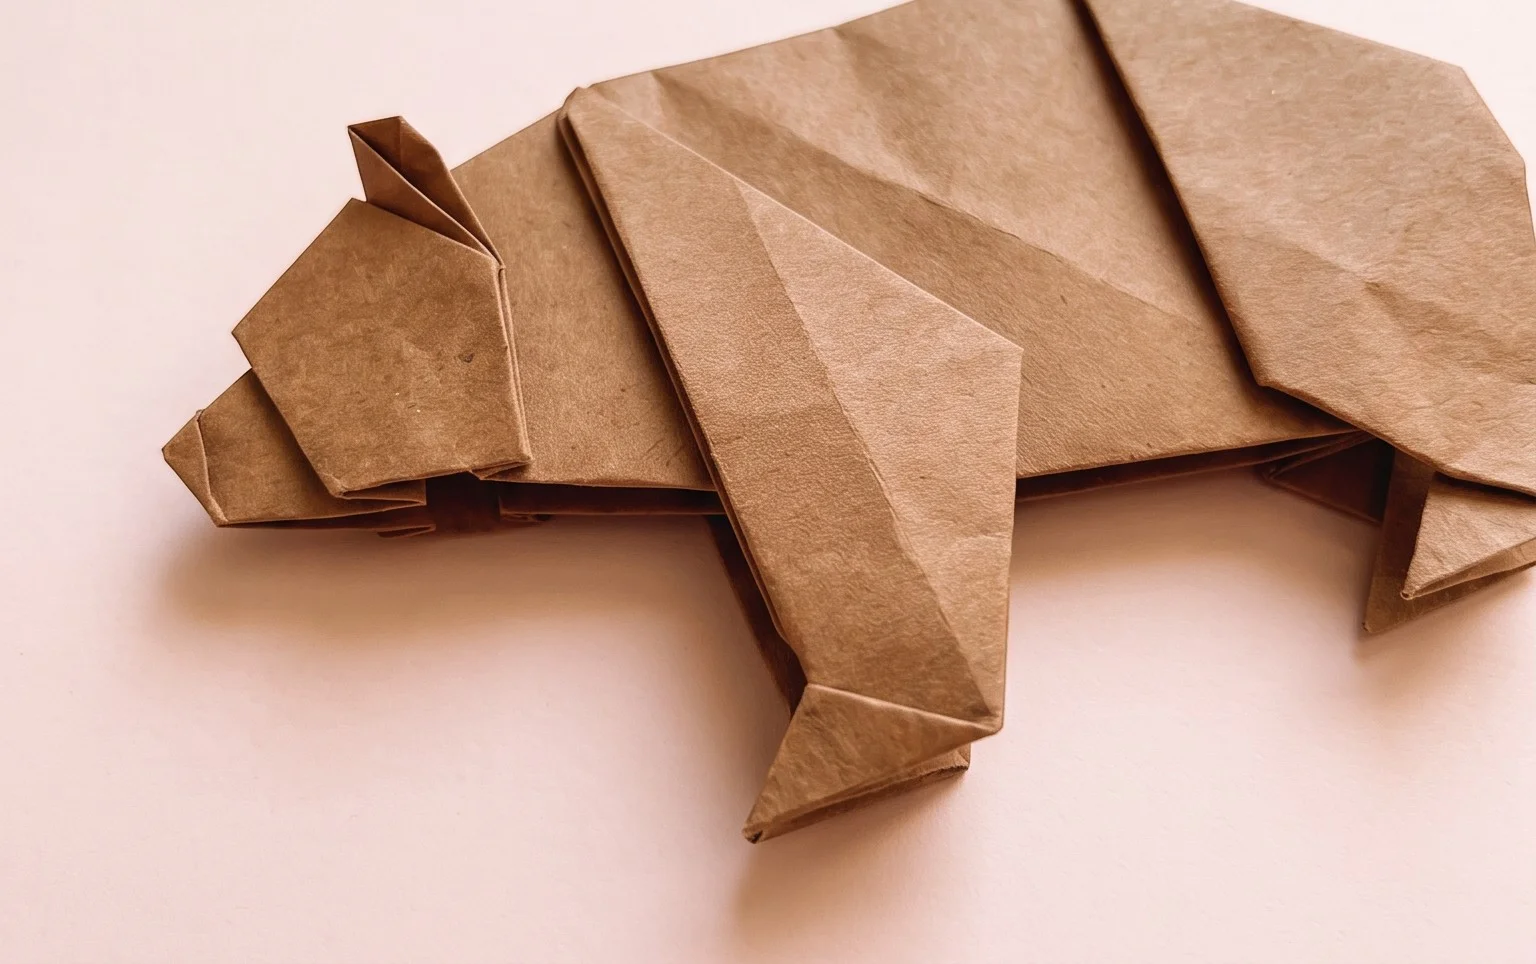
Congratulations on completing your very own origami bear! Remember, the first attempt is always practice, so don’t worry if it’s not perfect. The joy is in the folding and the learning process. We encourage you to try this fun paper craft again, perhaps with different colored paper. Once you’ve mastered this adorable origami bear, why not try folding a standing bear, or perhaps a mini bear for a cute charm? Feel free to share your delightful creations with friends and family! There are so many more wonderful paper projects waiting to be discovered. Keep folding and keep creating!
